Add a Radar Chart Widget
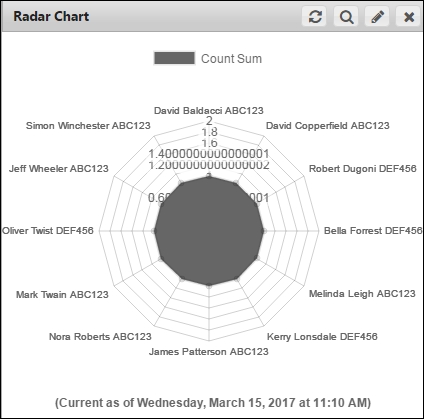
You can personalize and customize the radar chart appearance. Radar charts automatically generate colors based on the number of data points.
To add a radar chart widget
Step 1: On the Analytics homepage, click Manage Dashboards.

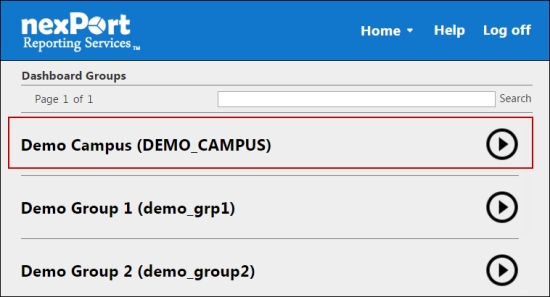
The Dashboards Groups page is displayed.
Step 2: Select a group to view its dashboards.

A dashboard list for the selected group is displayed.
Step 3: Select a dashboard (Grid view or List view) to which you need to add a radar chart widget.

The <DashboardName> page is displayed.

Step 4: In the upper-right corner, click the ![]() icon.
icon.
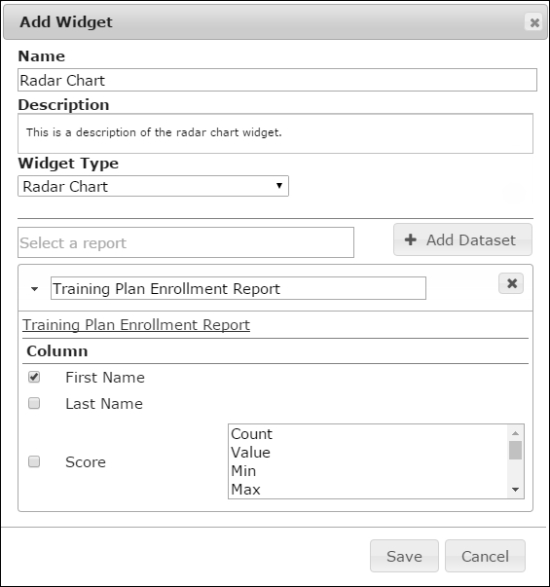
The Add Widget dialog box is displayed.

Step 5: In the Name box, type a name for the widget.
Step 6: In the Description box, type a brief description of the widget.
Step 7: In the Widget Type list, select Radar Chart.
Step 8: In the box, search for a report, and then select a report.
All reports in your organization or its descendants appear in the box. Parent organization filters appear for subgroup as well. In a widget you can select reports that are public or the reports that you have authored.
Step 9: Click Add Dataset.
Step 10: Click the ![]() icon if you need to remove the dataset.
icon if you need to remove the dataset.
Step 11: In the Column section, select the X-axis and Y-axis for the radar chart.
Step 12: Click Save.
The radar chart widget is saved and appears on your dashboard.

© NexPort Solutions. All Rights Reserved.
Last updated